
远程仓库之gitlab
浏览量:1341
一、gitlab简介
GitLab是利用 Ruby on Rails 一个开源的版本管理系统,实现一个自托管的Git项目仓库,可通过Web界面进行访问公开的或者私人项目。它拥有与Github类似的功能,能够浏览源代码,管理缺陷和注释。可以管理团队对仓库的访问,它非常易于浏览提交过的版本并提供一个文件历史库。团队成员可以利用内置的简单聊天程序(Wall)进行交流。它还提供一个代码片段收集功能可以轻松实现代码复用,便于日后有需要的时候进行查找。
依赖组件:ruby 1.9.3+,nginx、MySQL,git,redis, Sidekiq。
gitlab组件详解:
nginx:静态web服务器
gitlab-shell:用于处理git命令和修改authorized keys列表
git-workhorse:轻量级反向代理服务器
logrotate:日志文件管理工具
postgresql:数据库
redis:缓存数据库
sidekiq:用于在后台执行队列任务(异步执行)
unicorn:gitlab rails应用是托管在这个服务器上面的
最低配置内存2G
相关目录:
/var/opt/gitlab/git-data/repositories/rot:库默认存储目录
/opt/gitlab:应用代码和相应的依赖程序
/var/opt/gitlab:gitlab-ctl reconfigure命令编译后的应用数据和配置文件,不需要人为修改
/etc/gitlab:配置文件目录
/var/log/gitlab:此目录存放gitlab各个组件产生的日志
/var/opt/gitlab/backups:备份文件生成目录
特点:
1. Web框架使用Ruby on Rails。
2. 基于MIT代码发布协议。
3. 需要gitolite协同工作。
二、安装gitlab
官网:https://about.gitlab.com/downloads/
清华镜像:https://mirrors.tuna.tsinghua.edu.cn/gitlab-ce/yum/el7/
安装依赖:
sudo yum install curl policycoreutils openssh-server openssh-clients
sudo systemctl enable sshd
sudo systemctl start sshd
sudo yum install postfix
sudo systemctl enable postfix
sudo systemctl start postfix
sudo firewall-cmd --permanent --add-service=http
sudo systemctl reload firewalld
RPM安装
rpm -ivh https://mirrors.tuna.tsinghua.edu.cn/gitlab-ce/yum/el7/gitlab-ce-8.9.5-ce.0.el7.x86_64.rpm
注意:如果安装不了,请修改yum源
#vim /etc/yum.repos.d/gitlab-ce.repo[gitlab-ce]
name=gitlab-ce
baseurl=https://mirrors.tuna.tsinghua.edu.cn/gitlab-ce/yum/el7/
repo_gpgcheck=0
gpgcheck=0
enabled=1
gpgkey=

# 再执行
wget https://mirrors.tuna.tsinghua.edu.cn/gitlab-ce/yum/el7/gitlab-ce-8.9.5-ce.0.el7.x86_64.rpm
rpm -ivh gitlab-ce-7.10.0~omnibus.2-1.x86_64.rpm
修改配置文件:
#vim /etc/gitlab/gitlab.rb
external_url 'http://your_ip_address'
配置:
gitlab-ctl reconfigure
相关命令:
gitlab-ctl status 查看状态
gitlab-ctl start 启动
gitlab-ctl stop 关闭
gitlab-ctl restart 重启
gitlab-ctl tail nginx 查看nginx日志
gitlab-ctl show-config 验证配置
访问:
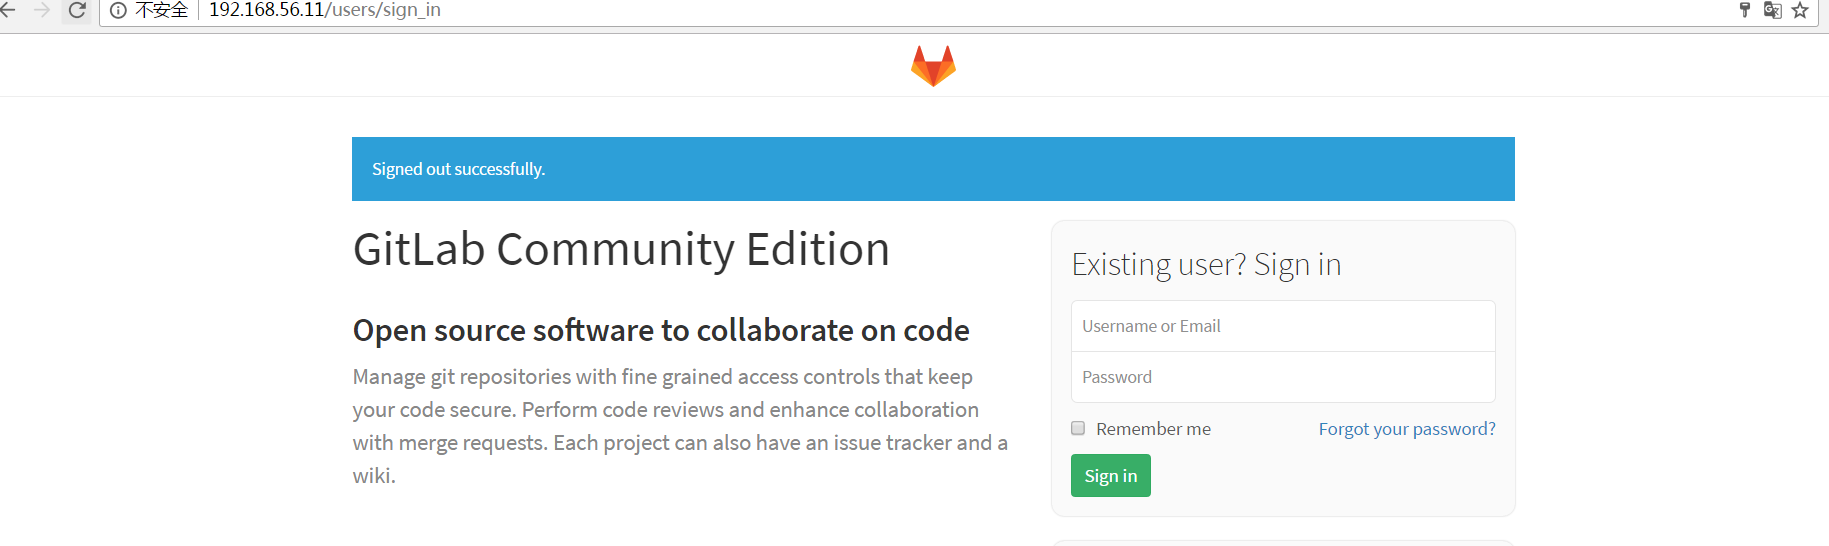
默认用户:root
默认密码:5iveL!fe
登录后修改密码!!!!
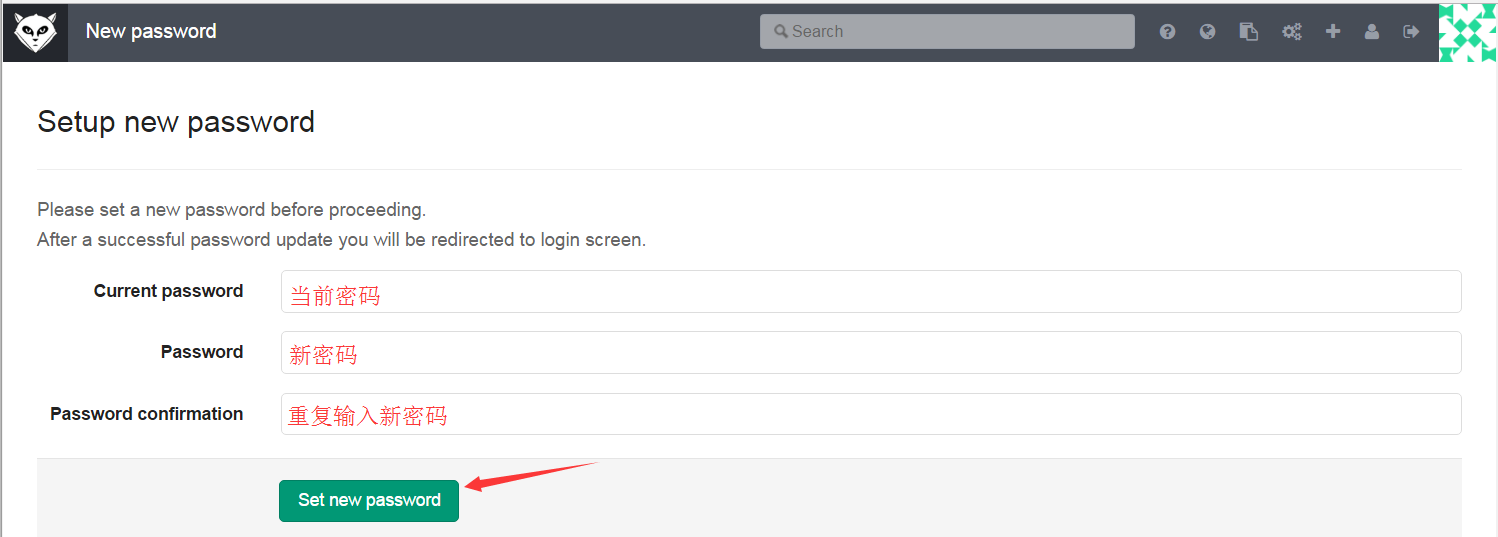
新密码登录:
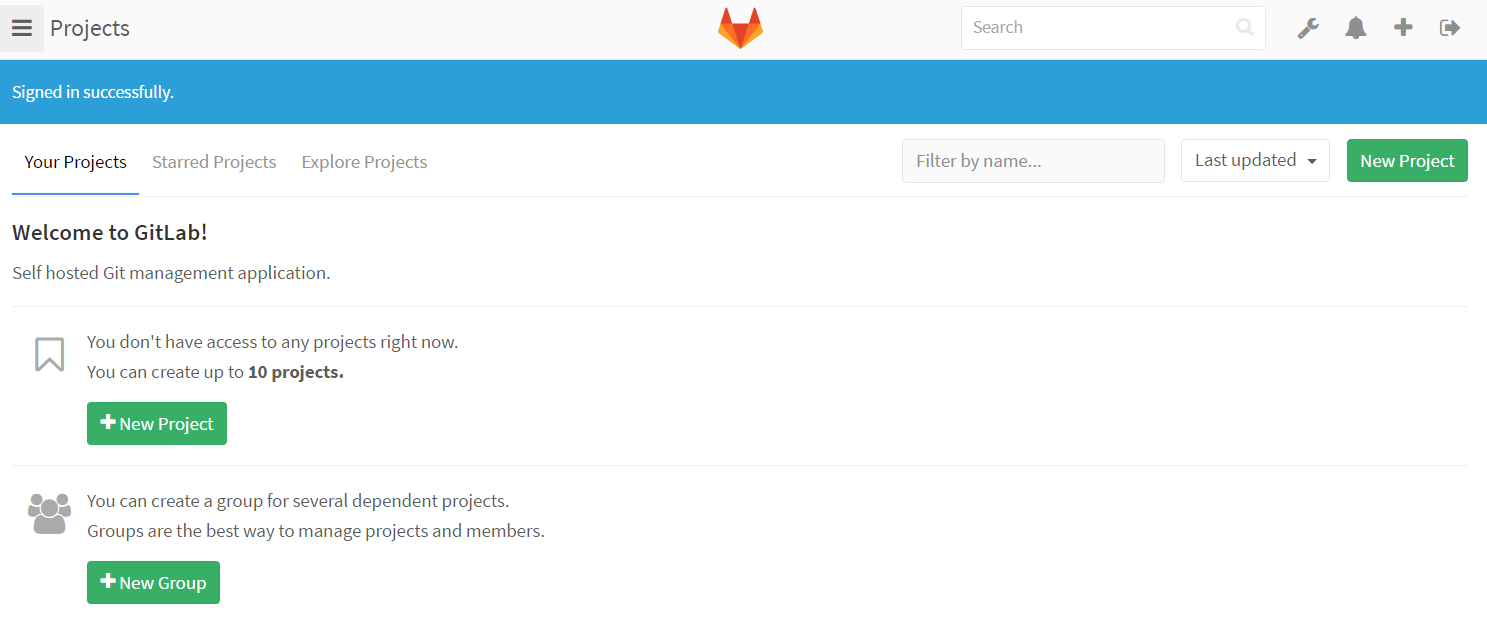
项目管理案例:
加入你们公司有一个项目组,包含pm dev1 dev2,一天pm有一个需求需要dev1 dev2完成,那么我们应该怎么去创建组和用户呢?
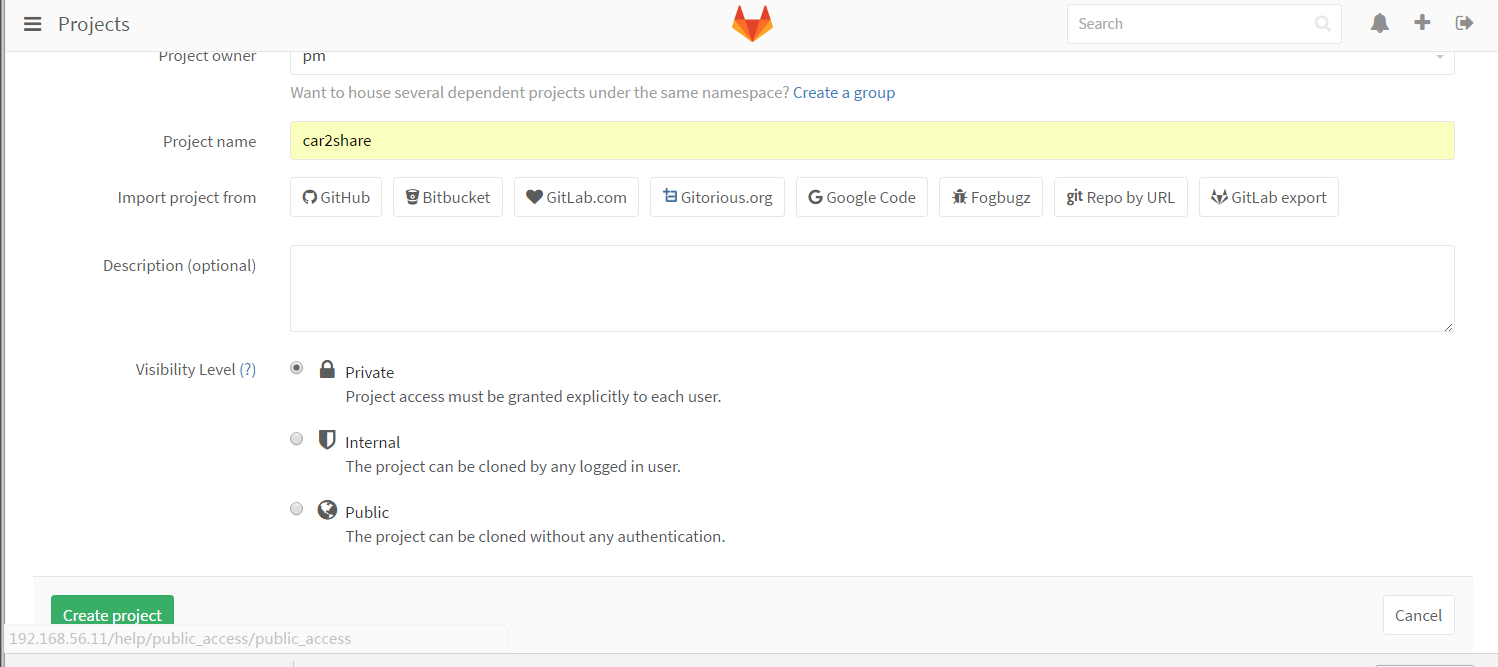
创建项目:
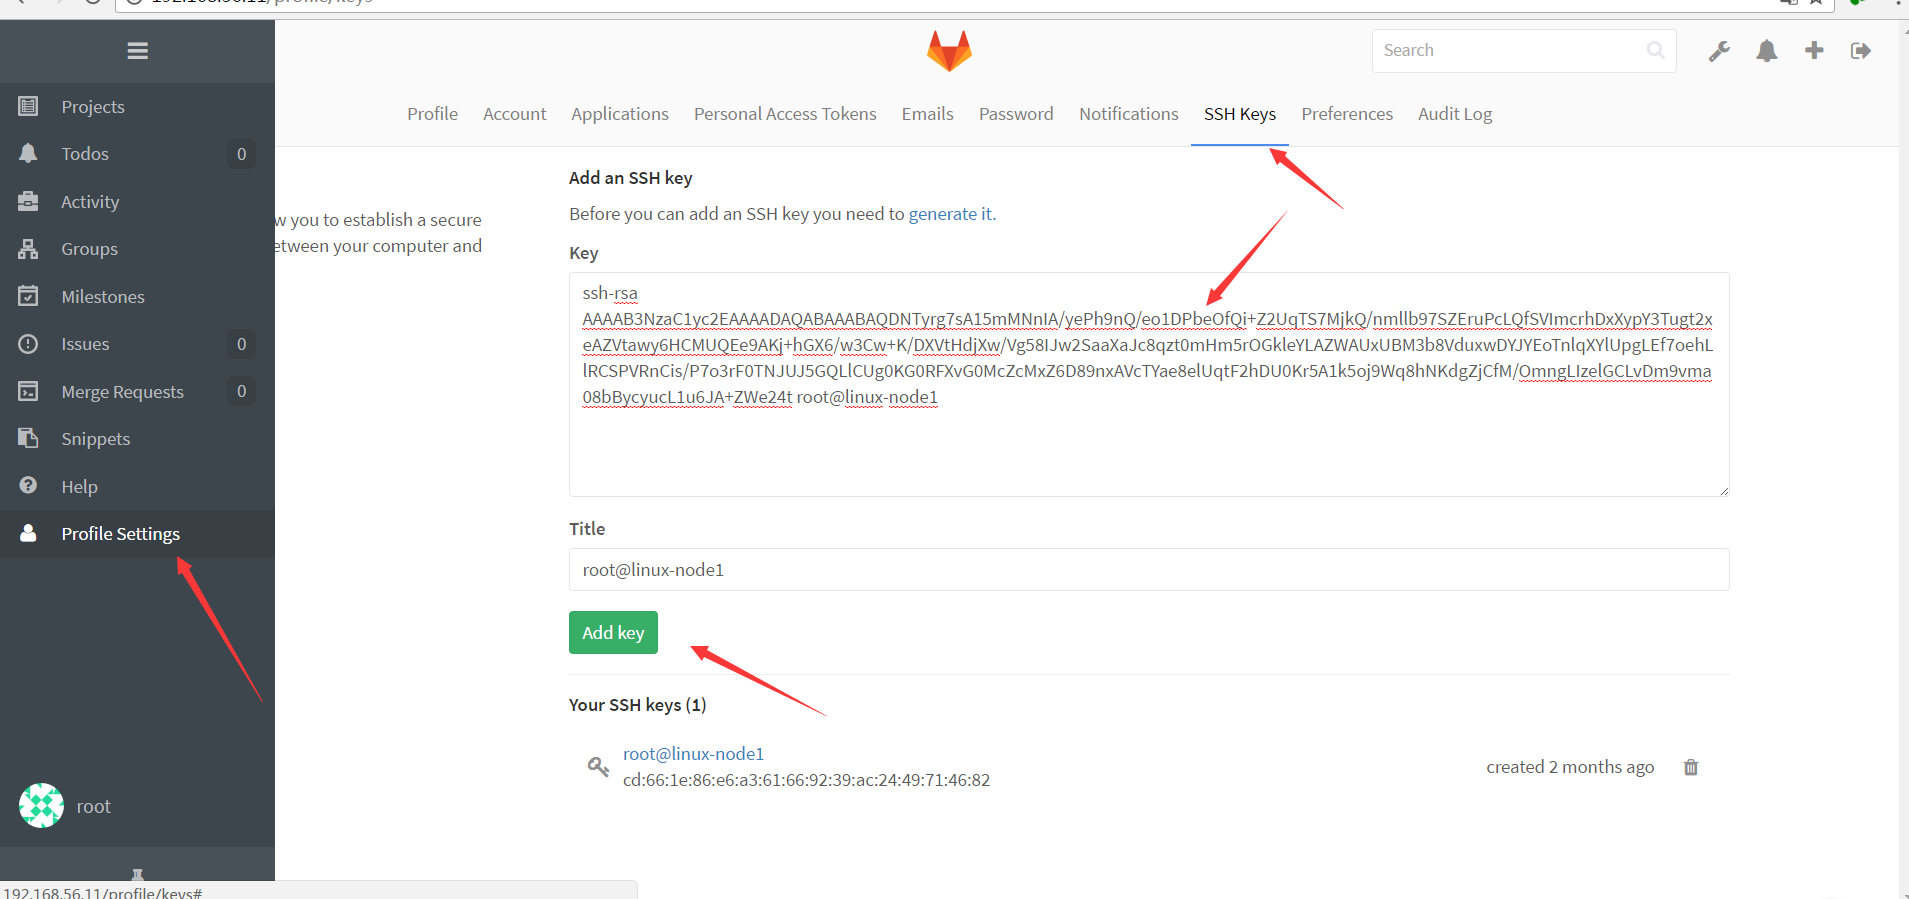
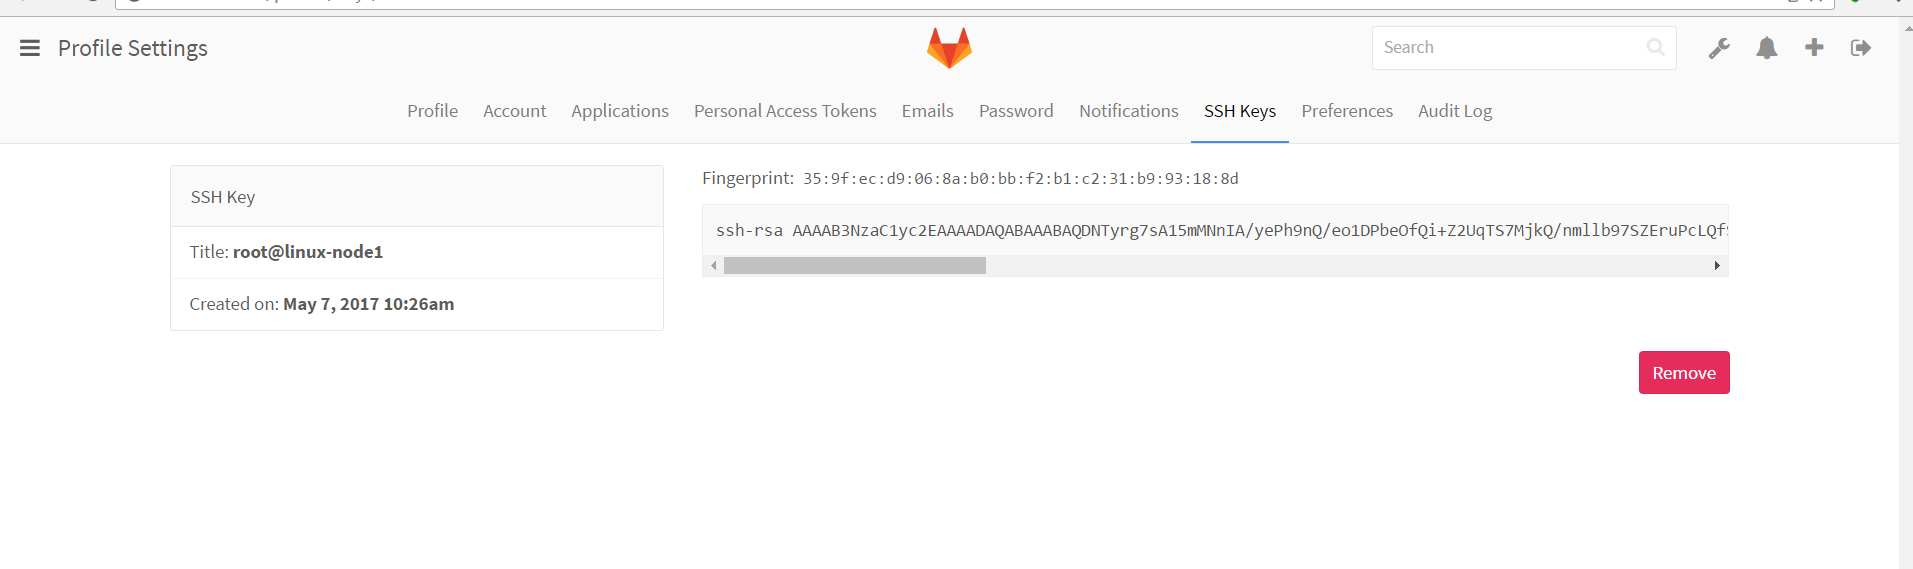
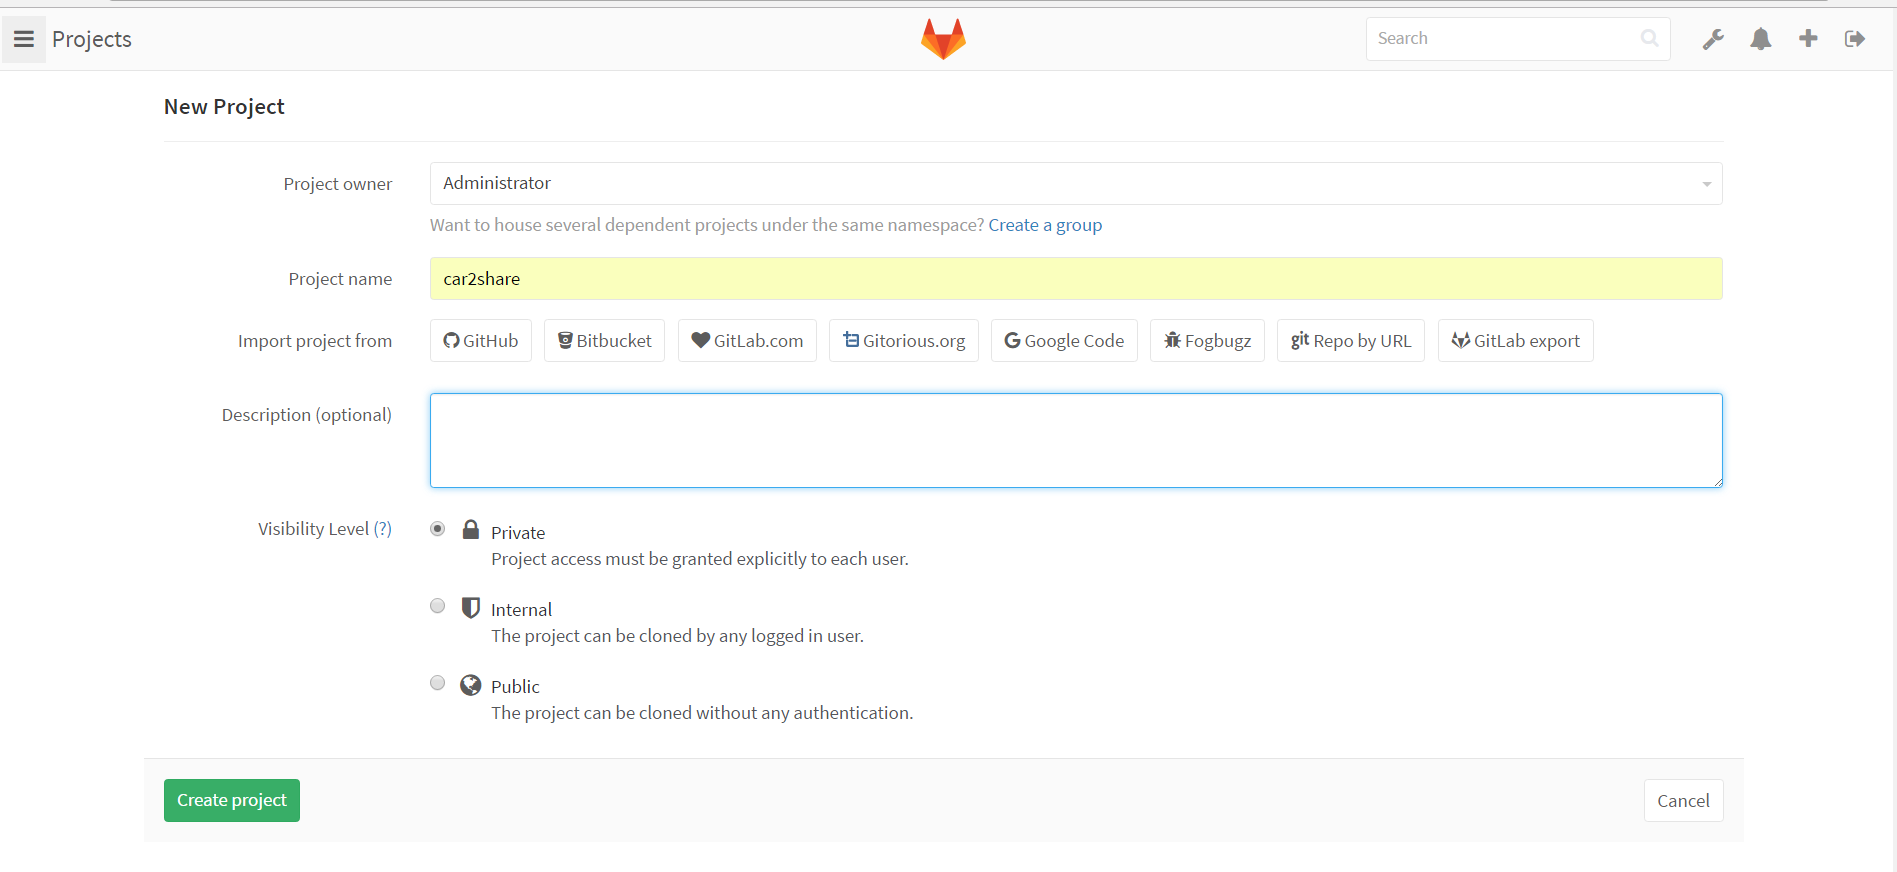 Create a new repository and ssh-key
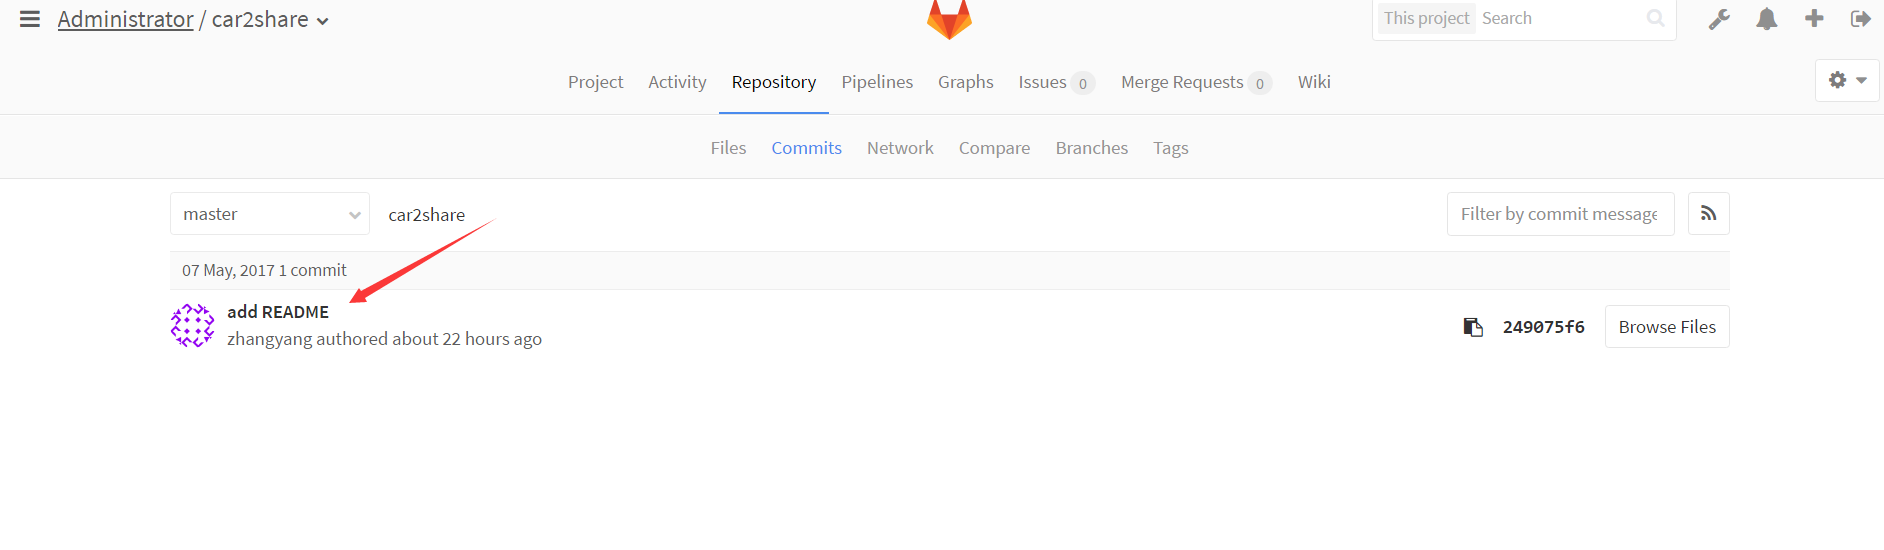
git clone git@192.168.56.11:root/car2share.git
cd car2share
touch README.md
git add README.md
git commit -m "add README"
git push -u origin master
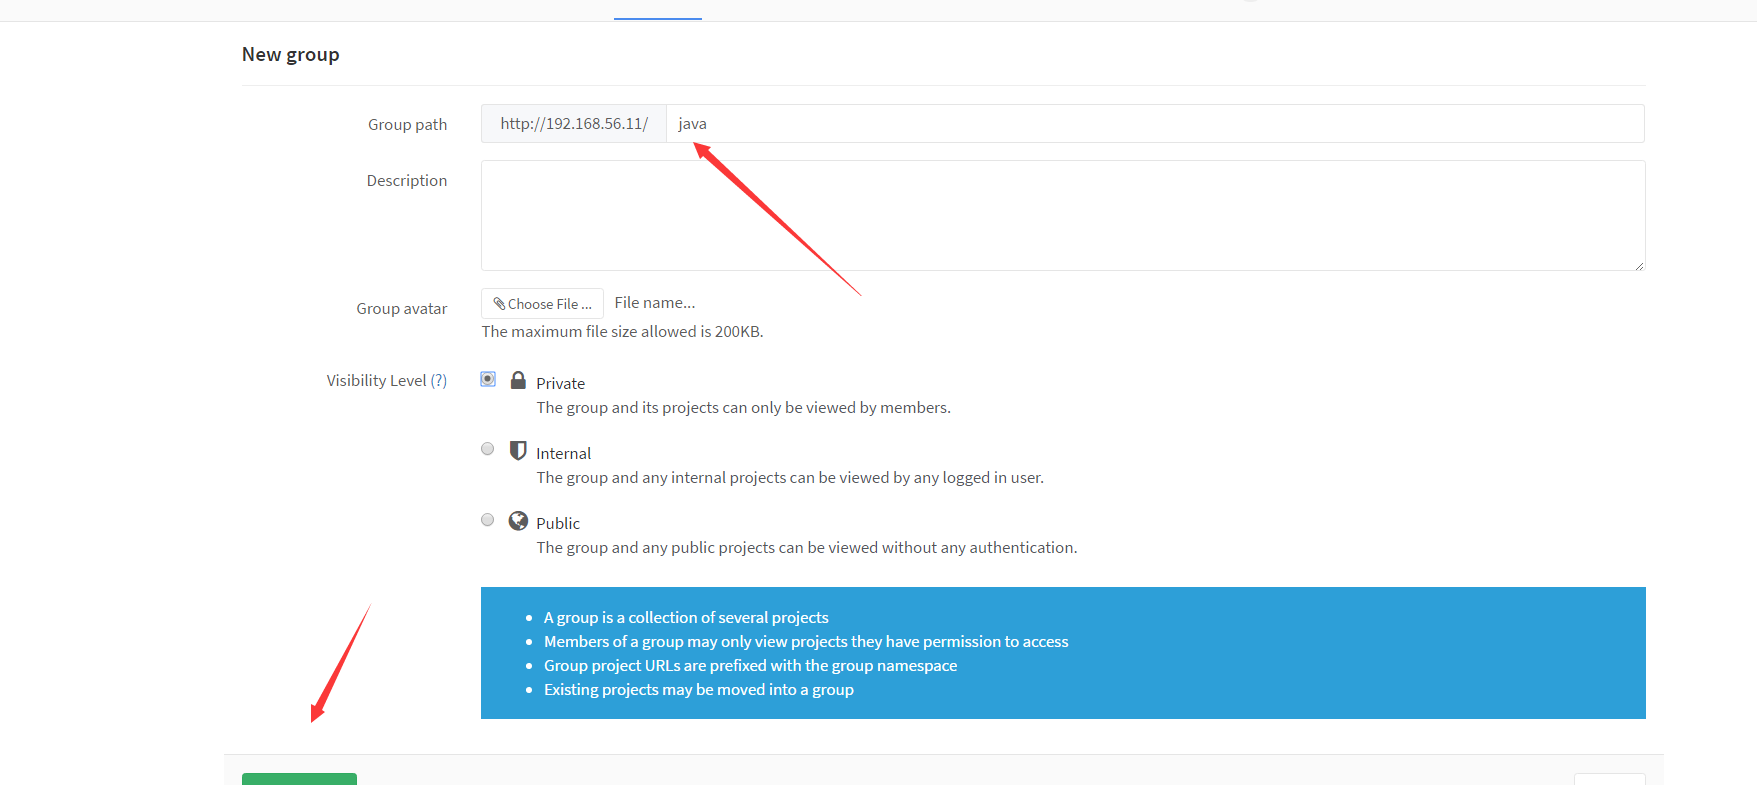
创建组
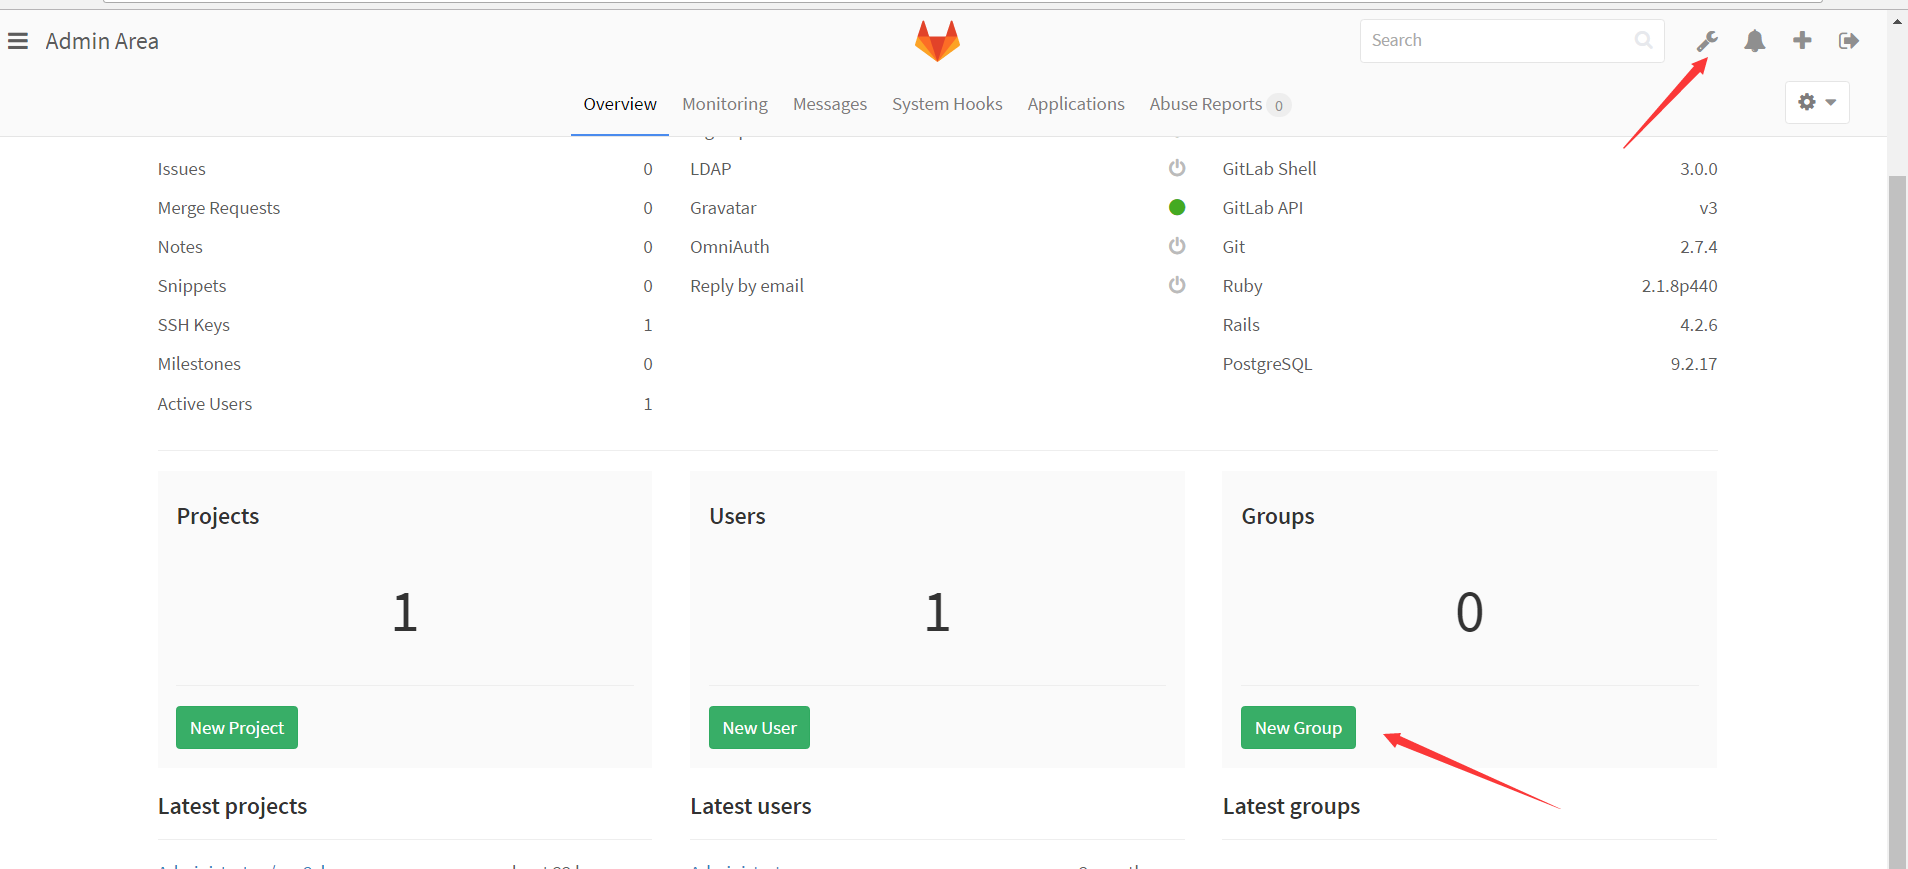
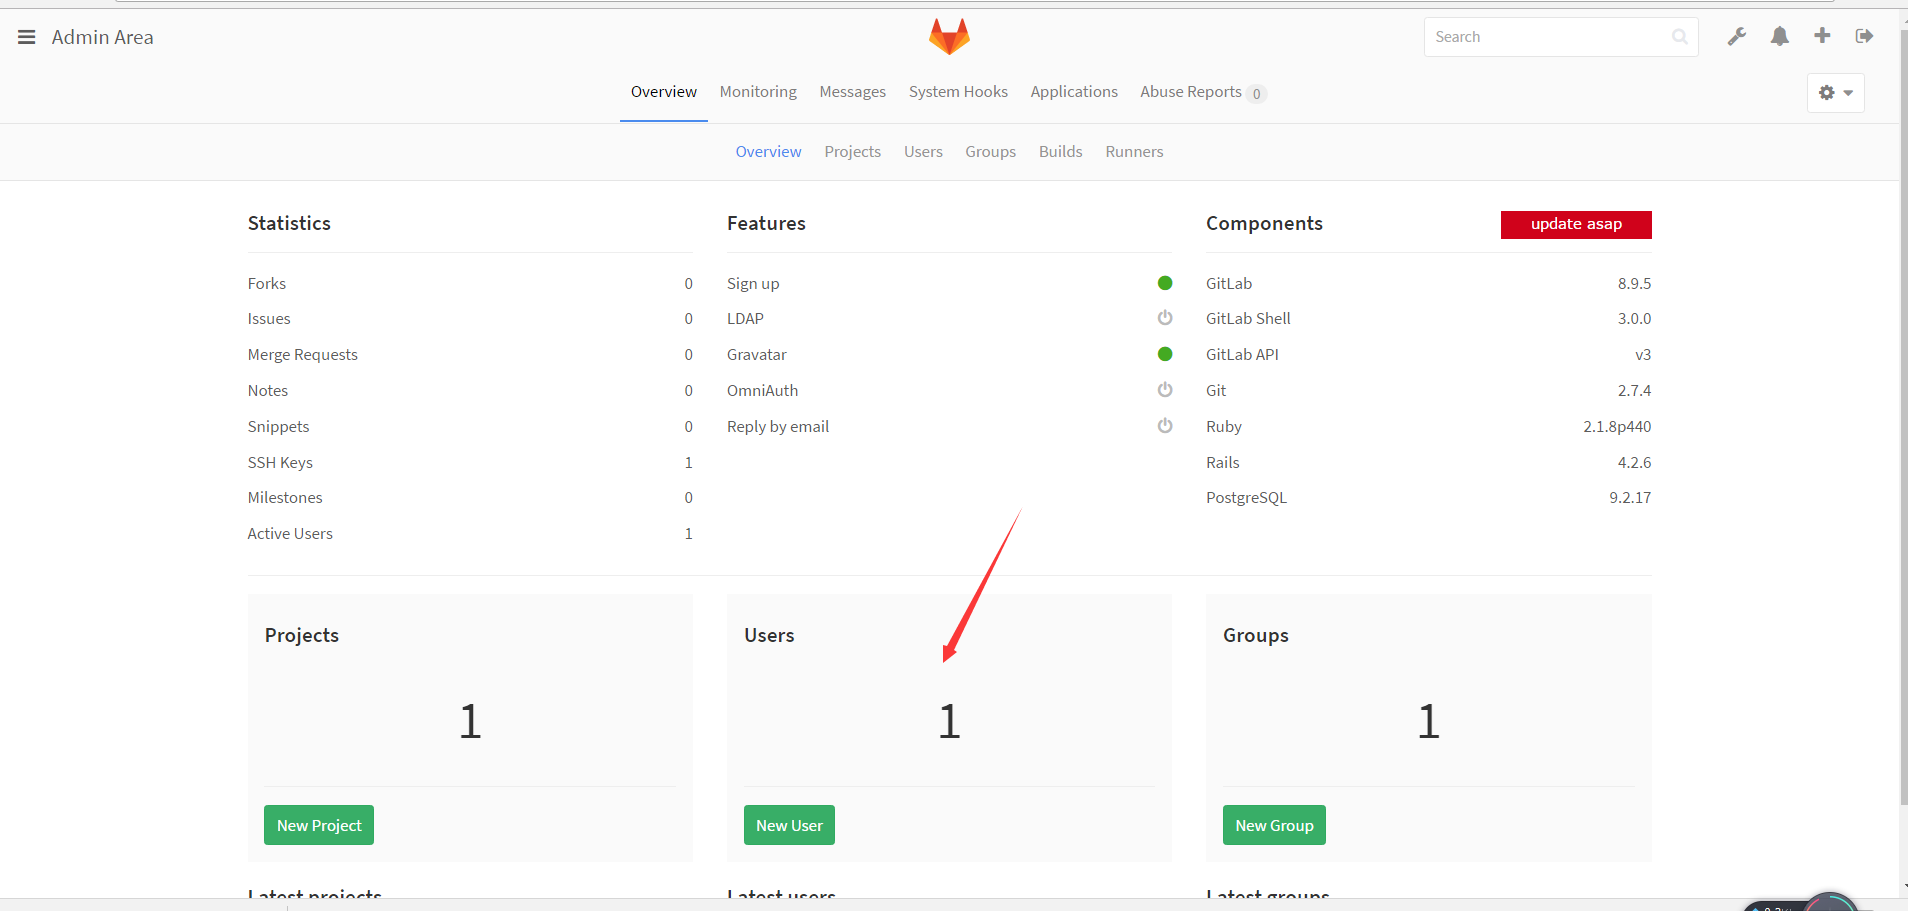
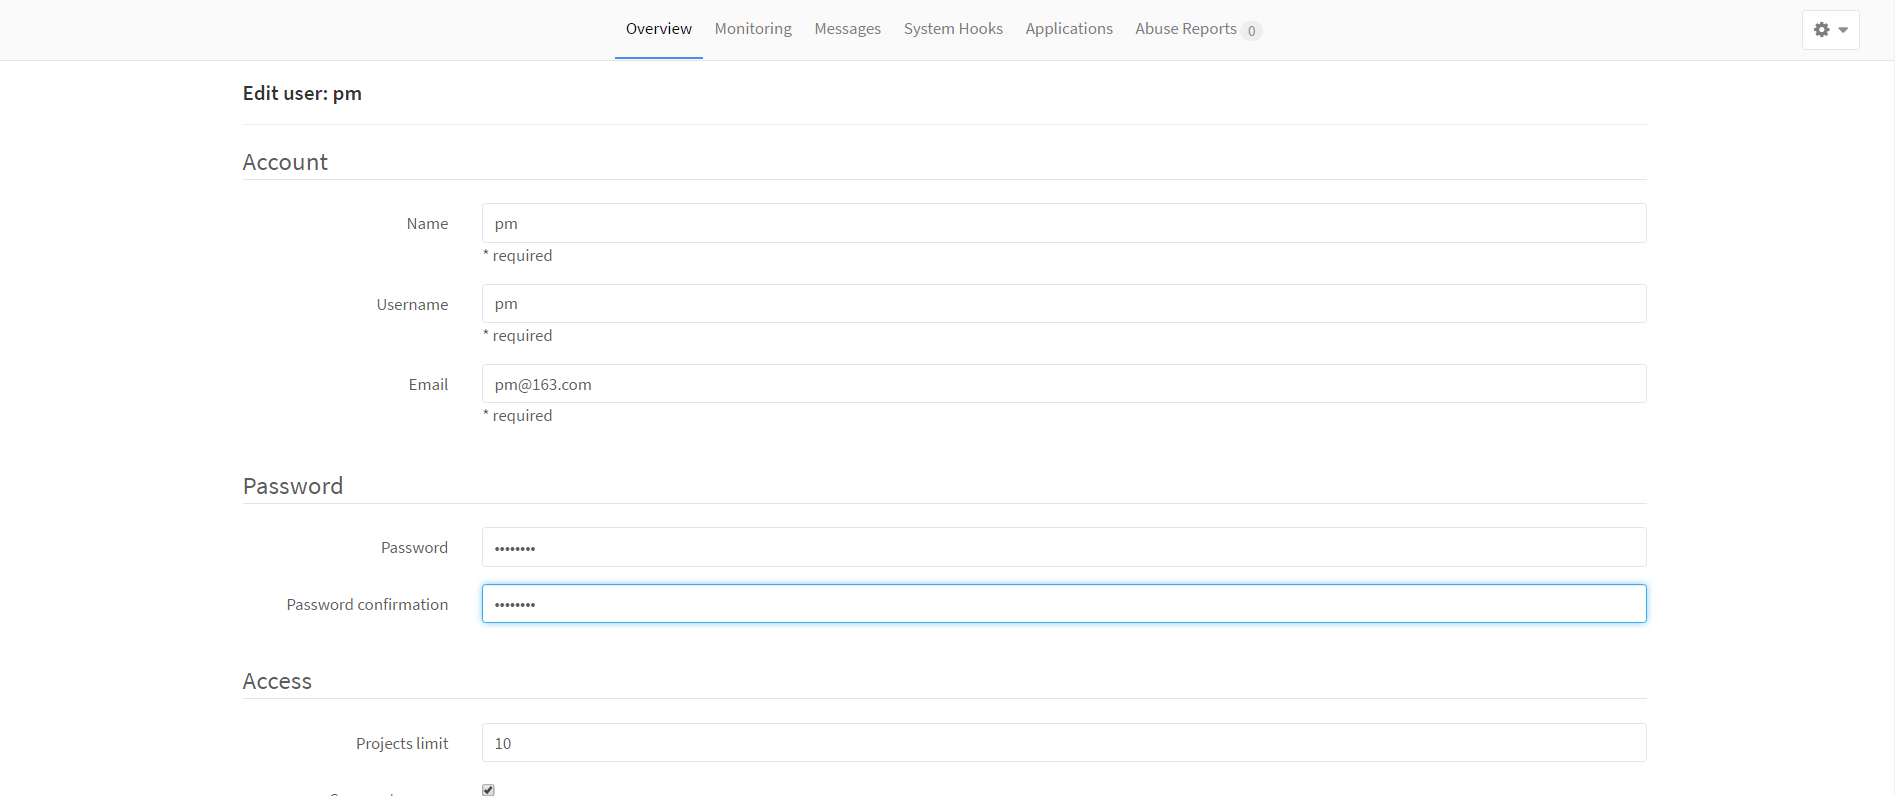
创建pm dev1 dev2用户
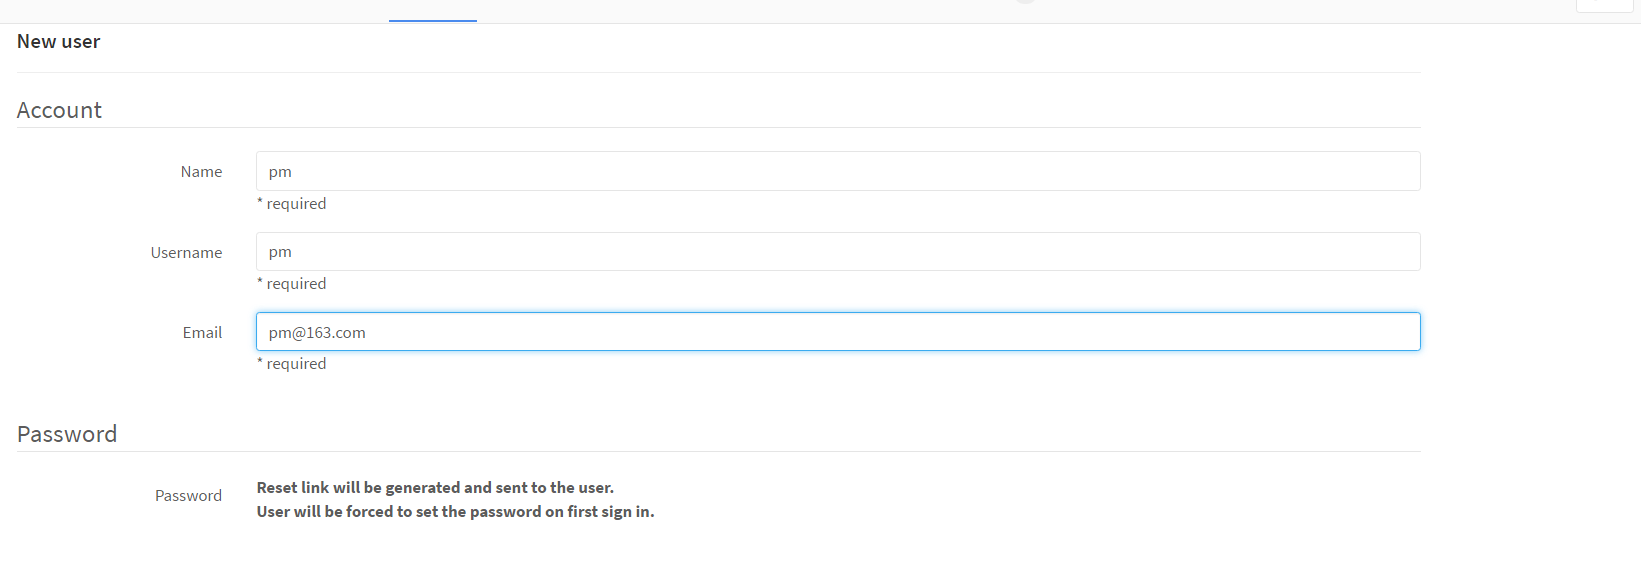
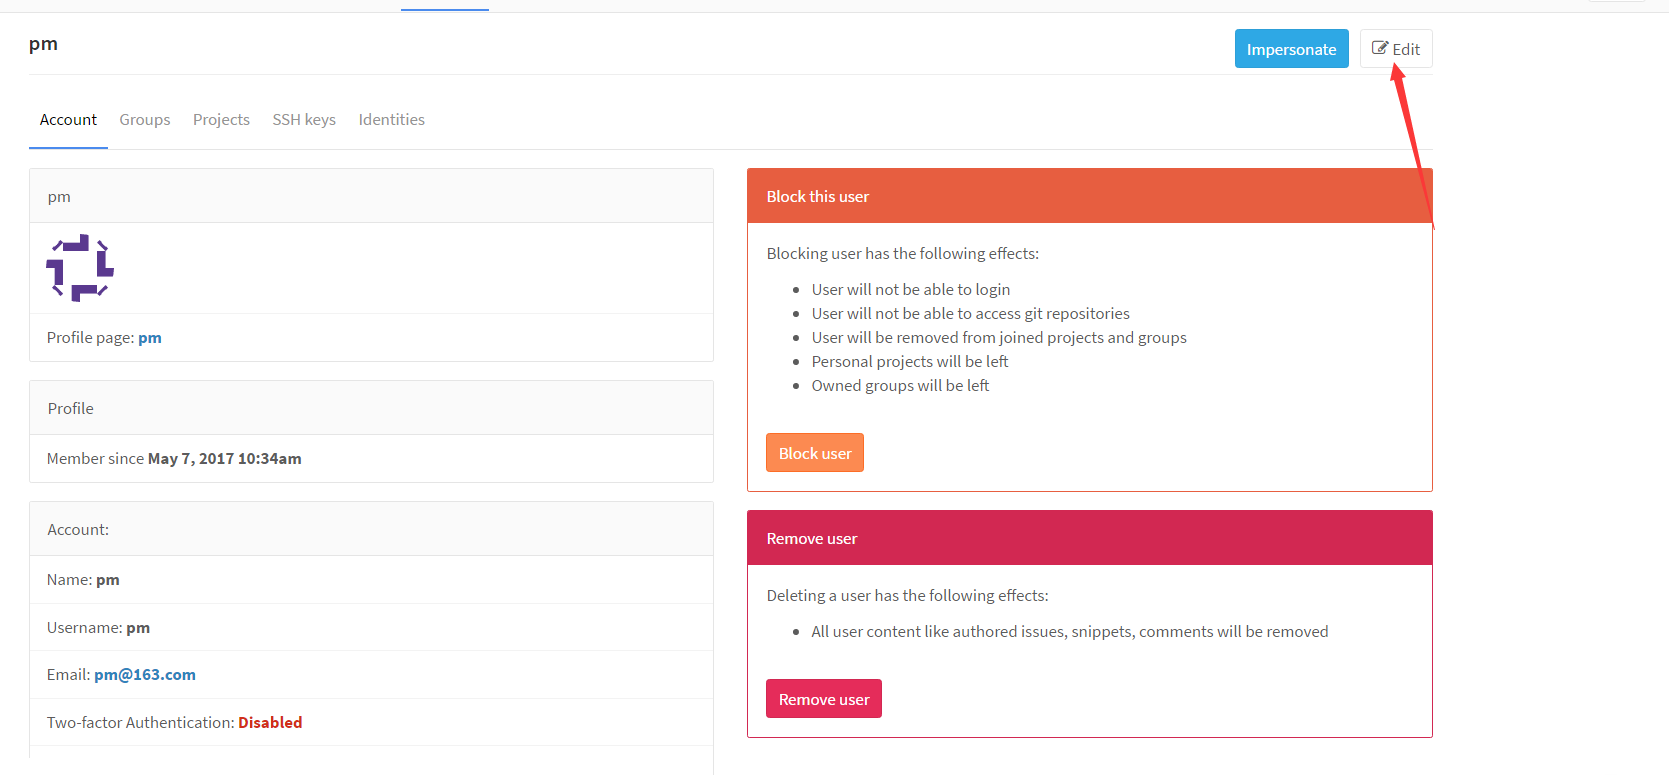
设置密码
 同理,创建dev1 dev2

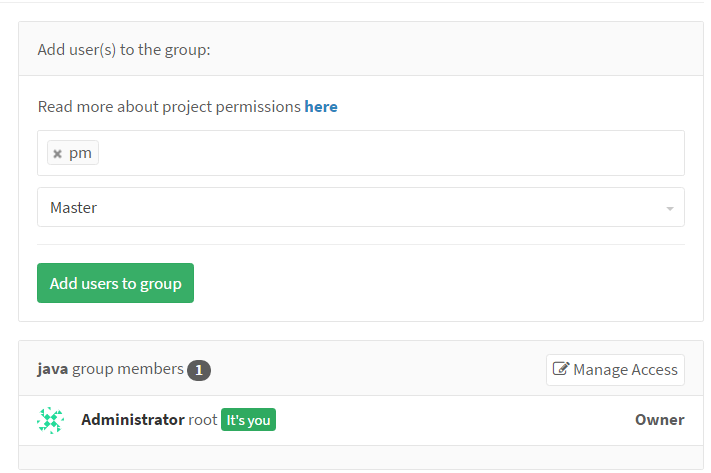
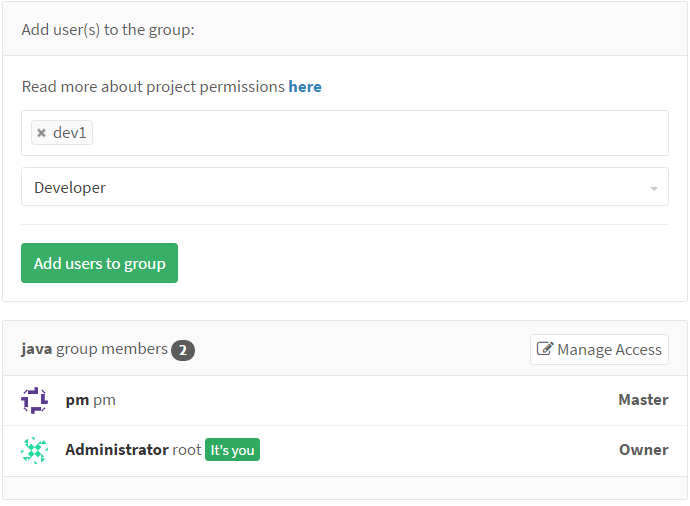
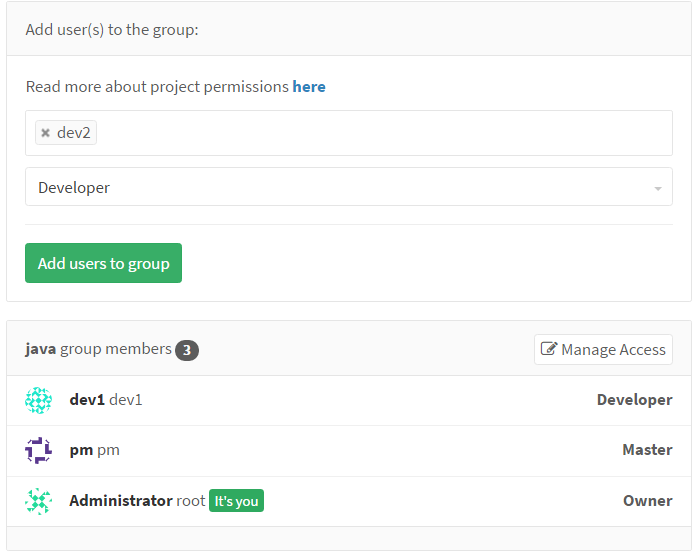
增加用户角色到组

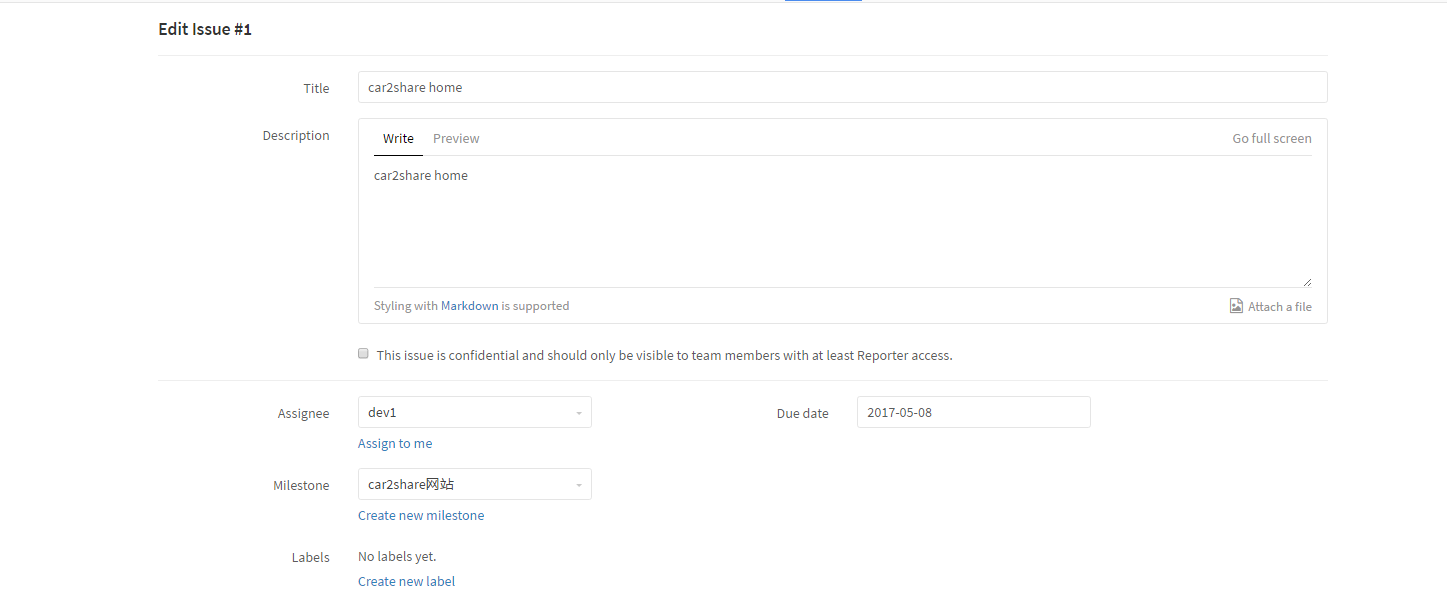
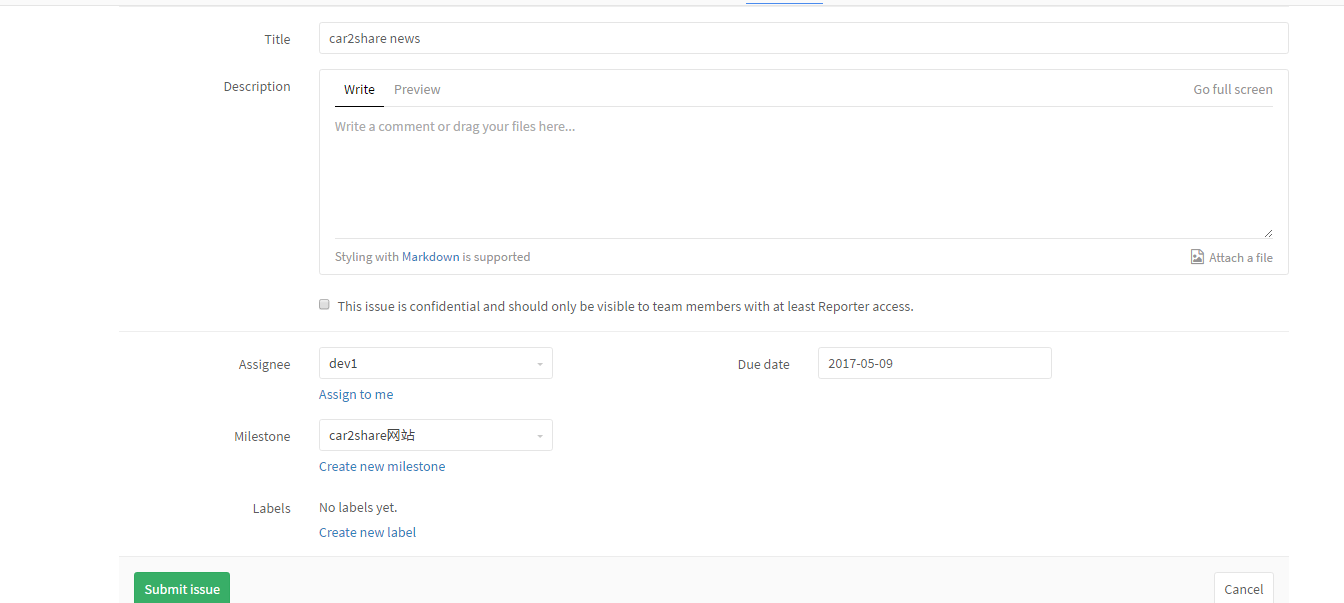
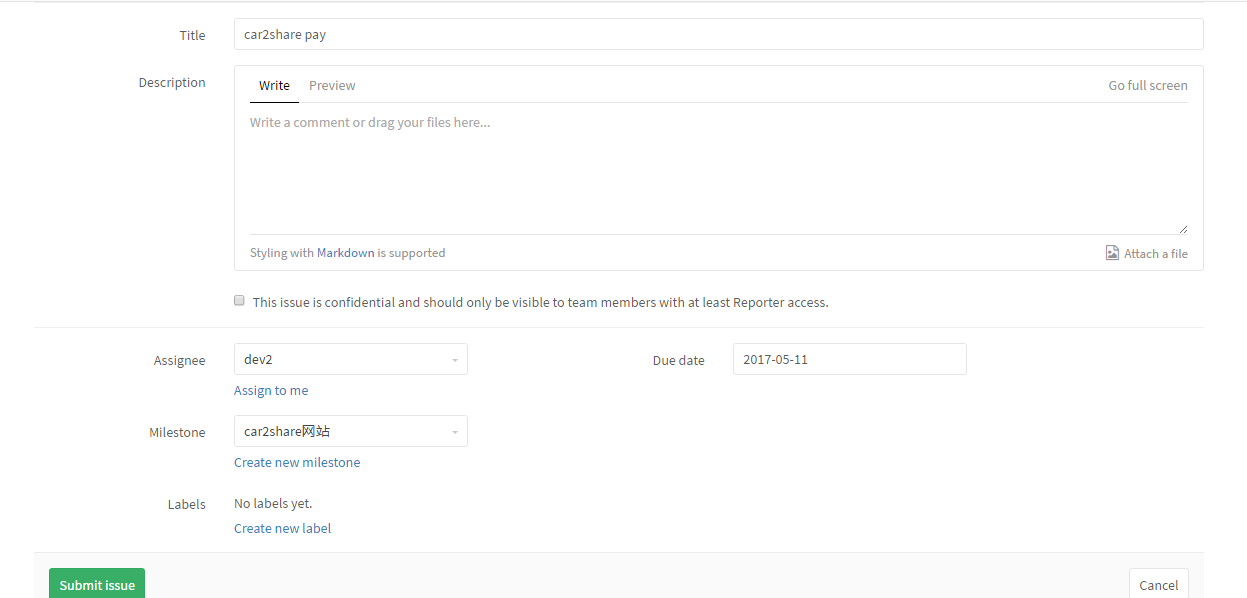
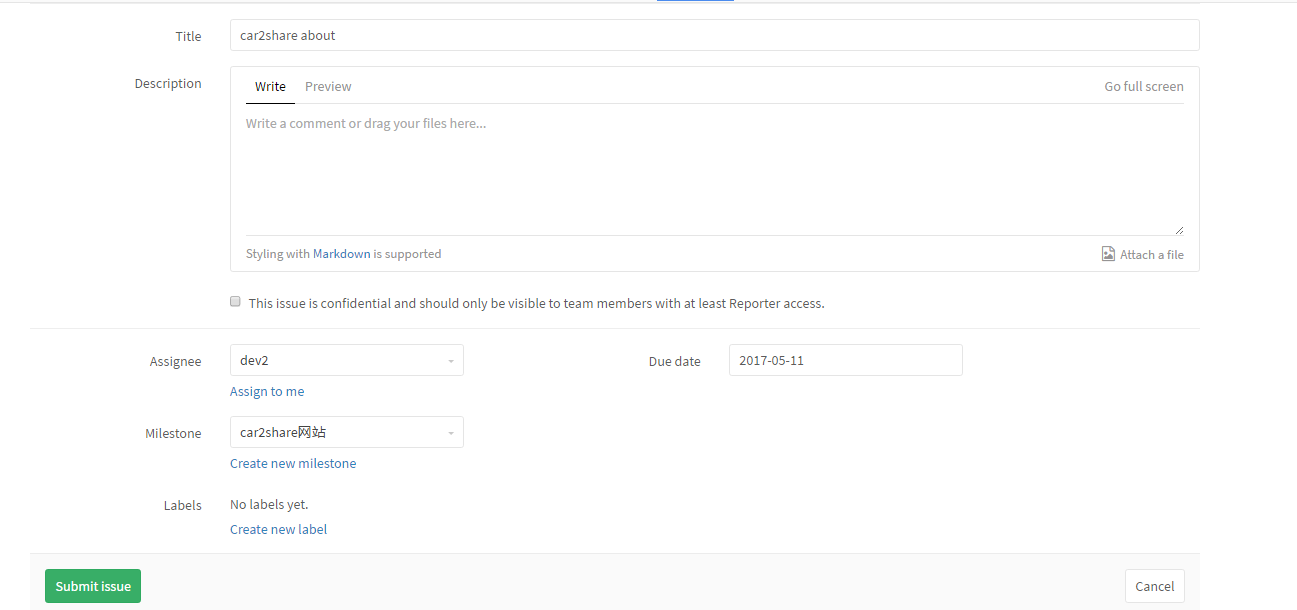
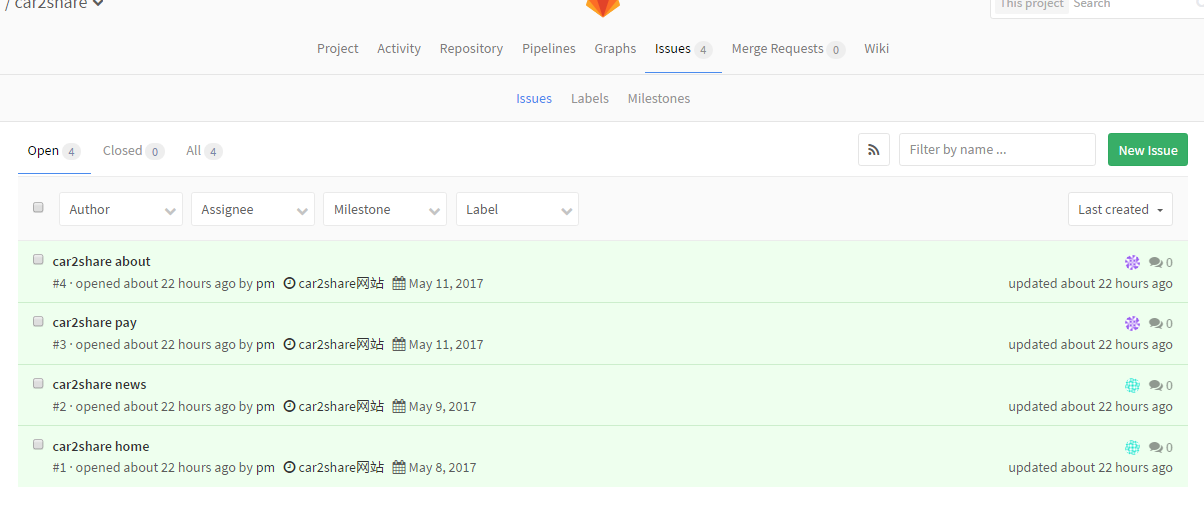
现在pm有一个car2share项目开发计划需要定时由dev1 dev2完成,下面是需求
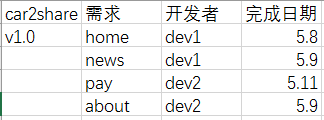
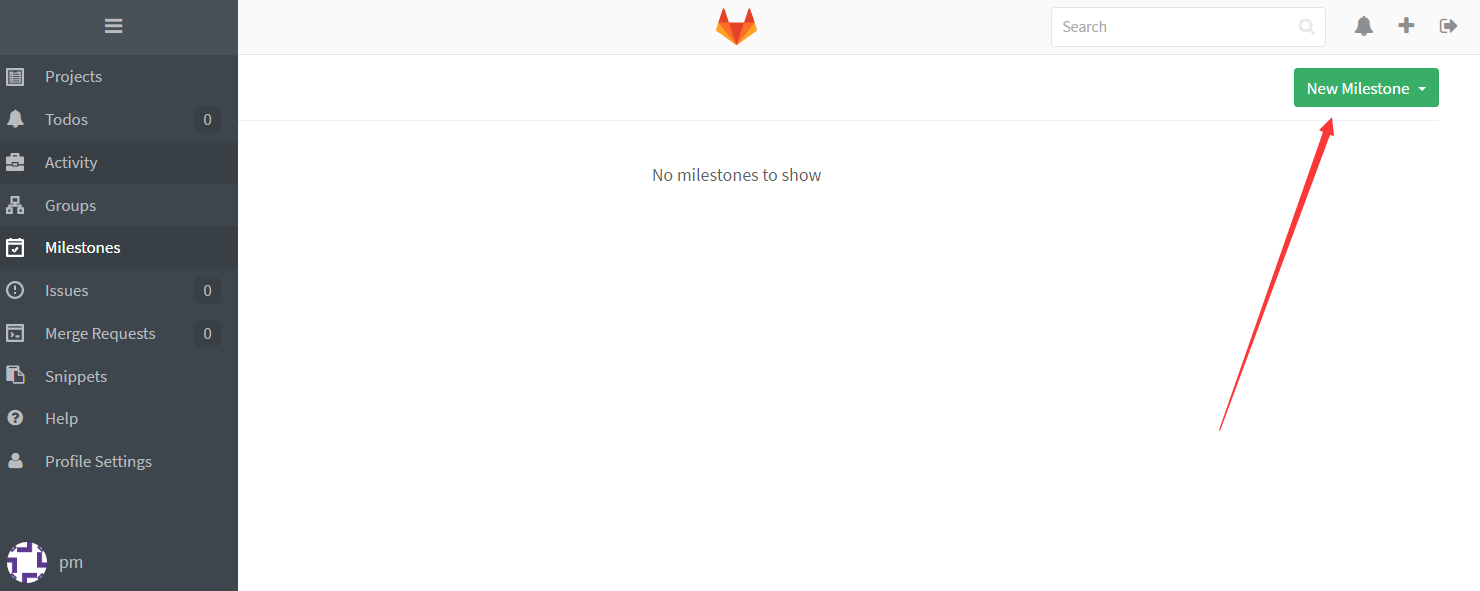
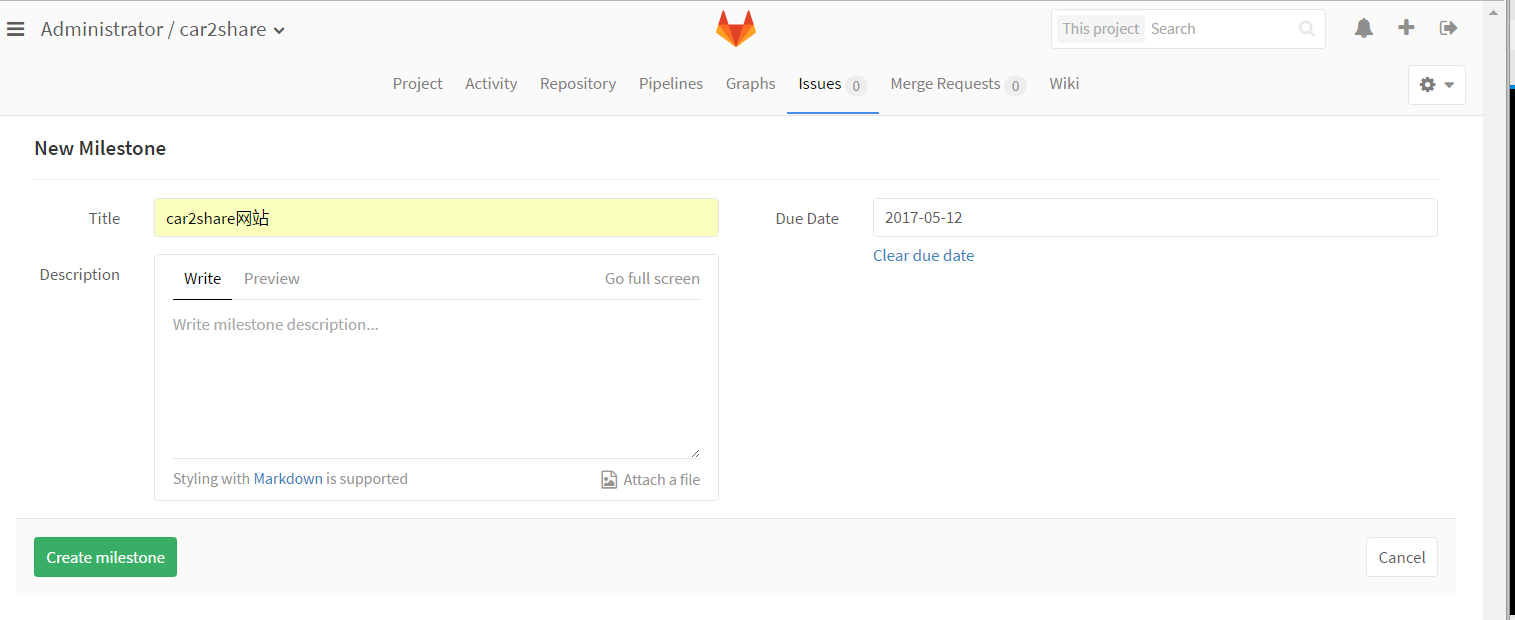
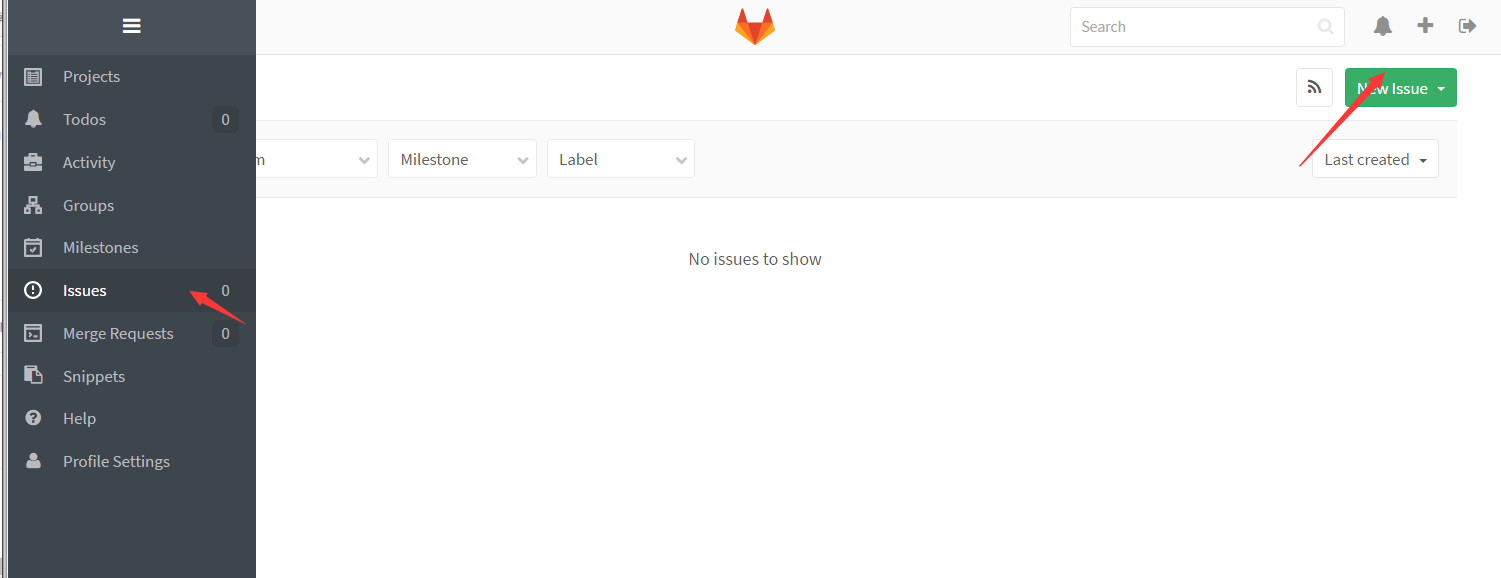
那么,pm需要创建lssue管理
创建项目:
git clone http://192.168.56.11/pm/car2share.gitcd car2share
touch README.md
git add README.md
git commit -m "add README"
git push -u origin master
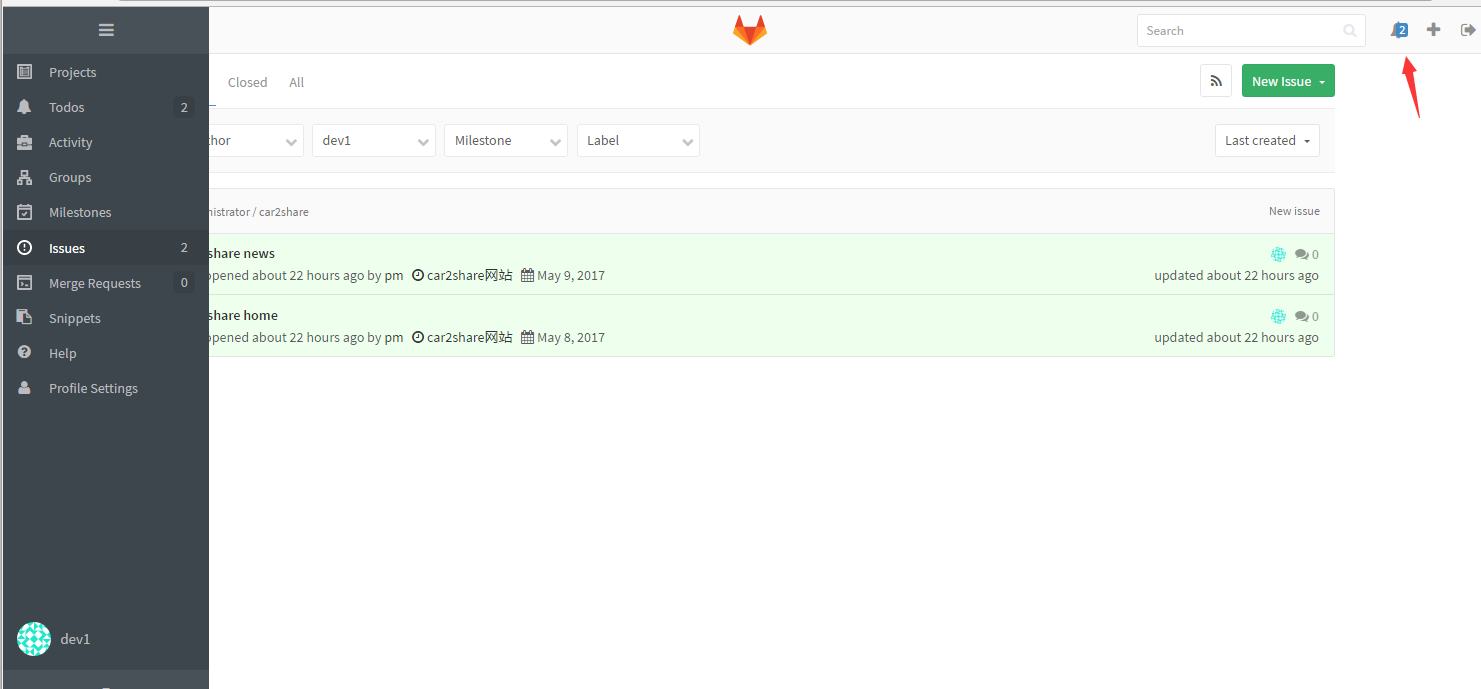
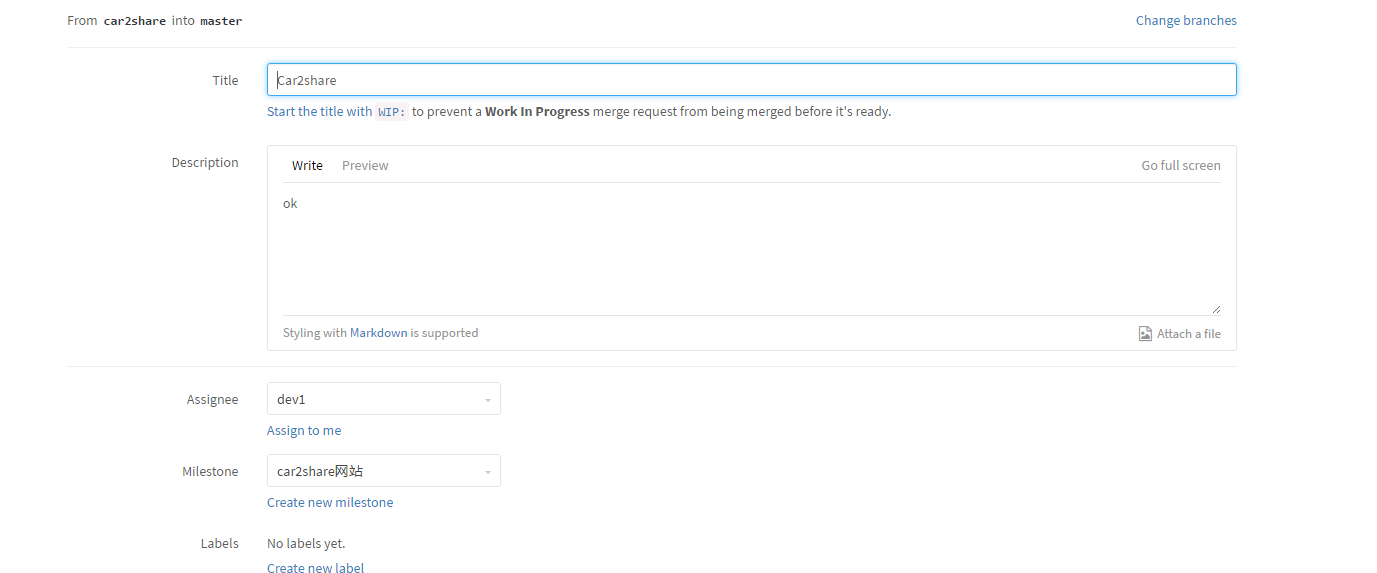
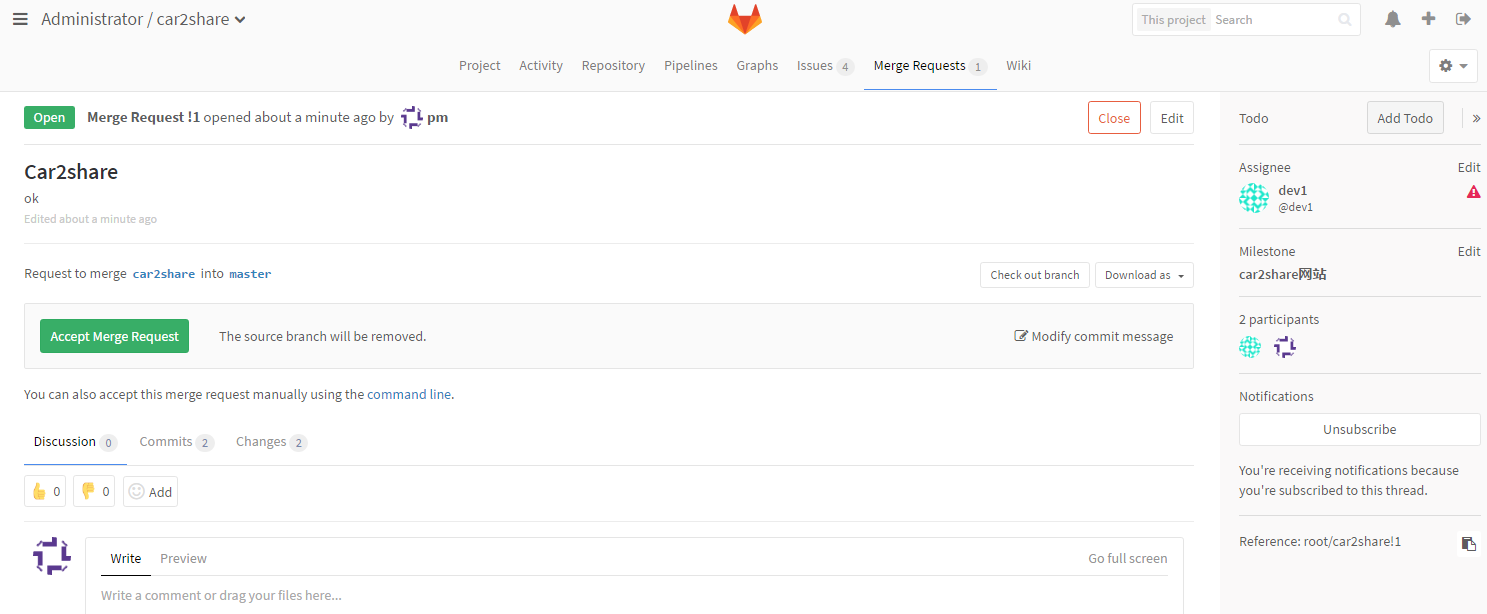
 现在dev1 看到issue开始开发car2share home
dev1在linux开发环境
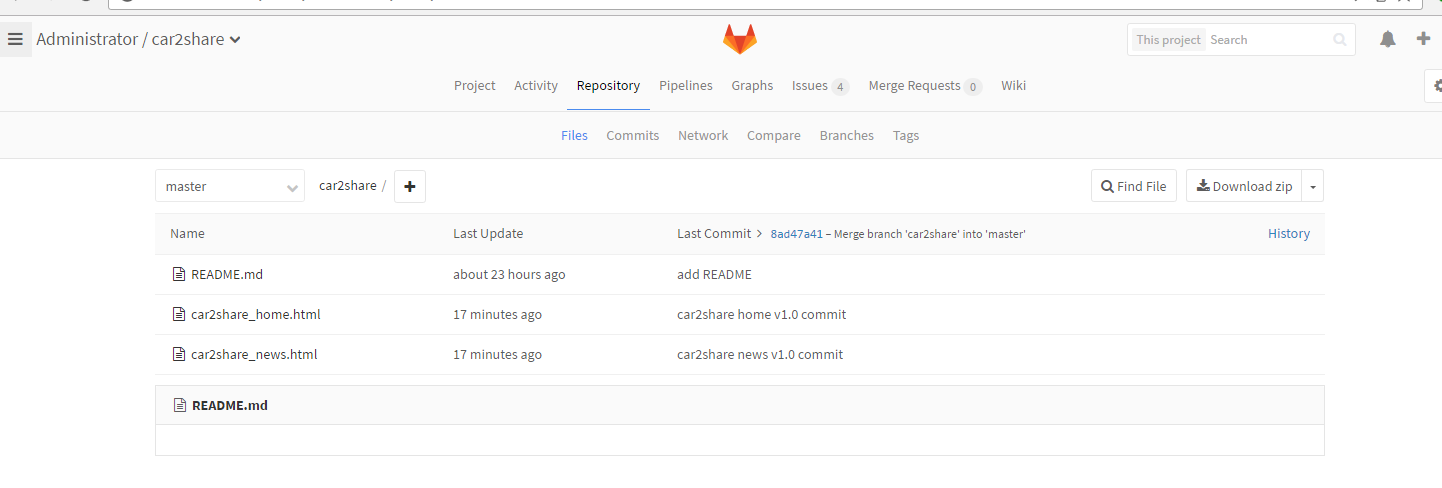
[root@linux-node1 ~]# git clone git@192.168.56.11:root/car2share.git
正克隆到 'car2share'...
remote: Counting objects: 3, done.
remote: Total 3 (delta 0), reused 0 (delta 0)
接收对象中: 100% (3/3), 完成.
检查连接... 完成。
[root@linux-node1 ~]# cd car2share/
[root@linux-node1 car2share]# ll
总用量 0
-rw-r--r-- 1 root root 0 5月   7 19:06 README.md
[root@linux-node1 car2share]# echo "<h1>car2share home</h1>" >> car2share_home.html
[root@linux-node1 car2share]# echo "<h1>car2share news</h1>" >> car2share_news.html
[root@linux-node1 car2share]# git add .
[root@linux-node1 car2share]# git commit car2share_home.html -m "car2share home v1.0 commit"
[master 050a66f] car2share home v1.0 commit
 1 file changed, 1 insertion(+)
 create mode 100644 car2share_home.html
[root@linux-node1 car2share]# git commit car2share_news.html -m "car2share news v1.0 commit"
[master 3431927] car2share news v1.0 commit
 1 file changed, 1 insertion(+)
 create mode 100644 car2share_news.html
[root@linux-node1 car2share]# git push origin car2share
对象计数中: 6, 完成.
Delta compression using up to 2 threads.
压缩对象中: 100% (4/4), 完成.
写入对象中: 100% (6/6), 557 bytes | 0 bytes/s, 完成.
Total 6 (delta 1), reused 0 (delta 0)
To git@192.168.56.11:root/car2share.git
 * [new branch]      car2share -> car2share
[root@linux-node1 car2share]# git checkout master
切换到分支 'master'
您的分支与上游分支 'origin/master' 一致。
[root@linux-node1 car2share]# git merge car2share
更新 7865ee3..a974425
Fast-forward
 car2share_home.html | 1 +
 car2share_news.html | 1 +
 2 files changed, 2 insertions(+)
 create mode 100644 car2share_home.html
 create mode 100644 car2share_news.html
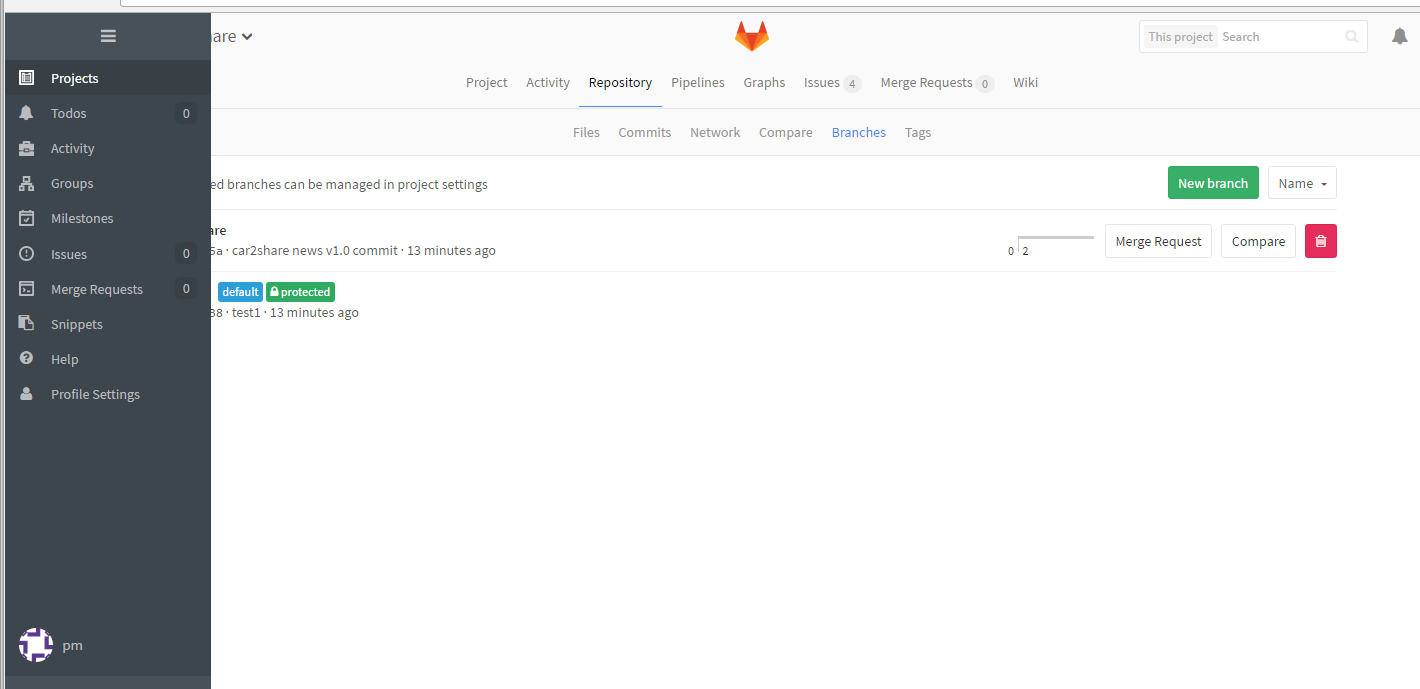
注意:由于测试就没有单独为某个任务创建分支
dev2接到项目后在windows操作
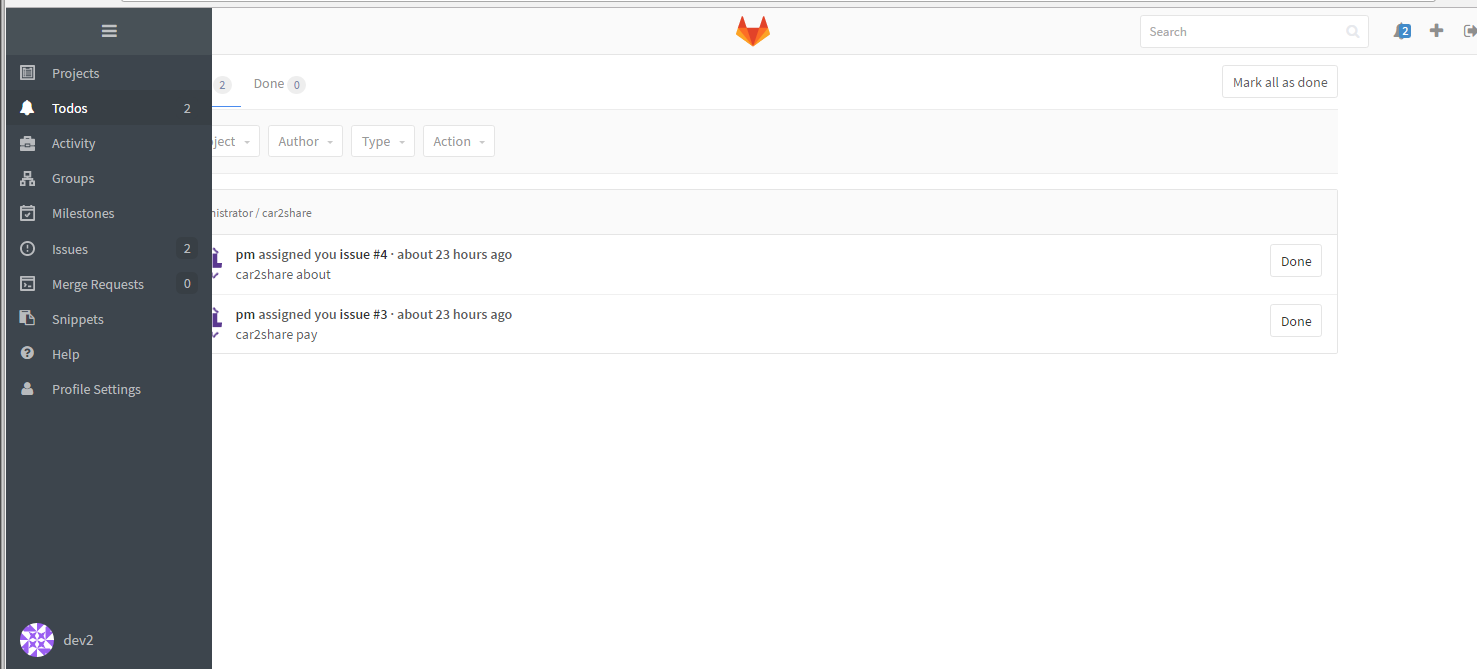
windows操作(略)
gitlab 备份管理:
配置文件加入:
gitlab_rails['backup_path'] = "/data/backups/gitlab"
gitlab_rails['backup_keep_time'] = 604800
创建目录:
mkdir  /data/backups/gitlab -p
chown -R git.git /data/backups/gitlab
定时任务:
0 2 * * * /usr/bin/gitlab-rake gitlab:backup:create
恢复:
停止数据库写入服务
gitlab-ctl stop unicorn
gitlab-ctl stop sidekiq
恢复数据:
date -d @1494142177
gitlab-rake gitlab:backup:restore BACKUP=1494142177
邮件配置:
gitlab_rails['time_zone'] = 'Asia/Shanghai'
gitlab_rails['gitlab_email_enabled'] = true
gitlab_rails['gitlab_email_from'] = 'emailvip888888@163.com'
gitlab_rails['gitlab_email_display_name'] = 'gitlab'
gitlab_rails['smtp_enable'] = true
gitlab_rails['smtp_address'] = "smtp.163.com"
gitlab_rails['smtp_port'] = 25
gitlab_rails['smtp_user_name'] = "emailvip888888@163.com"
gitlab_rails['smtp_password'] = "xxxx."
gitlab_rails['smtp_domain'] = "163.com"
gitlab_rails['smtp_authentication'] = "login"
神回复
发表评论:
◎欢迎参与讨论,请在这里发表您的看法、交流您的观点。